Situs Judi Bola Deposit Pulsa Tanpa Potongan HSO88
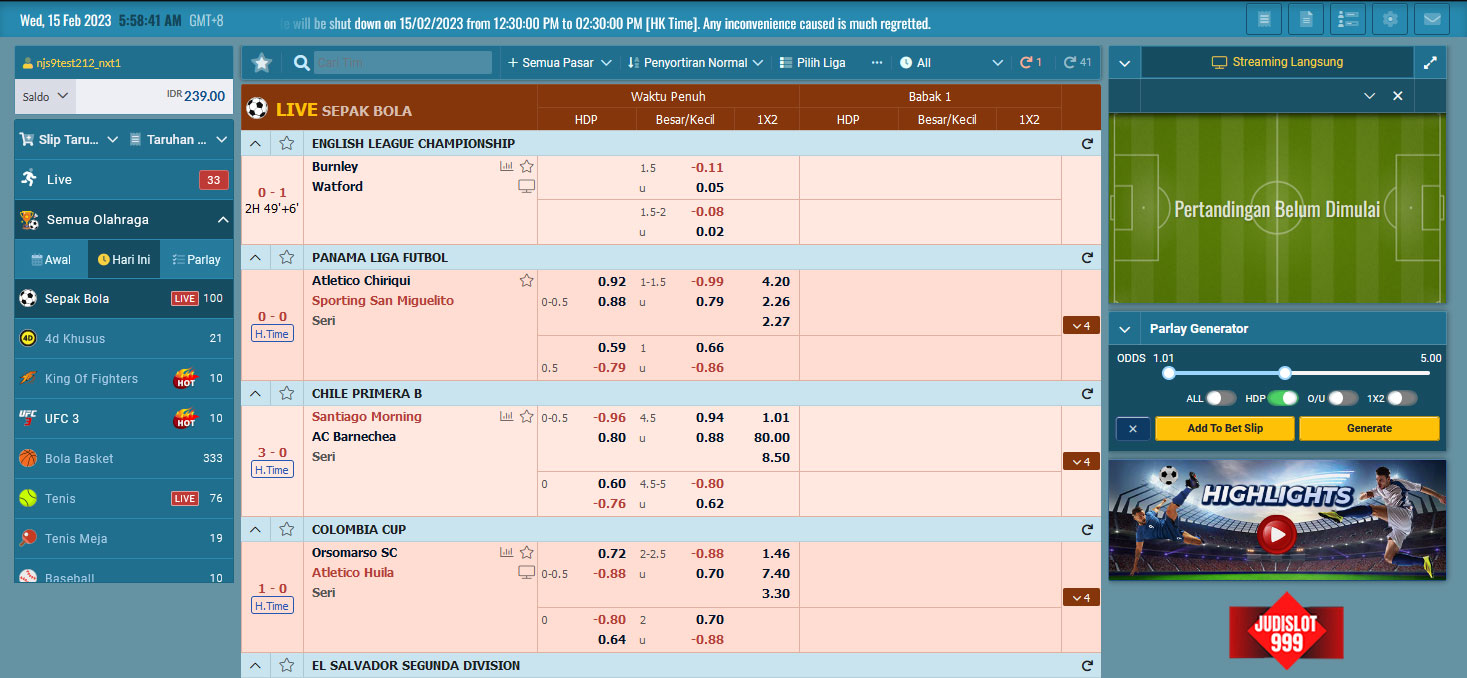
Situs Judi Bola Deposit Pulsa Tanpa Potongan HSO88 Situs Judi Bola Deposit Pulsa Tanpa Potongan HSO88 - Sepakbola mungkin merupakan jenis olahraga yang paling populer di dunia saat ini. Ada…
Comments Off on Situs Judi Bola Deposit Pulsa Tanpa Potongan HSO88
February 15, 2023